My name is Ralf Eyertt and there are a lot of person who asked me about my work and how I get the results.
I will show it on an example of a picture that was asked for:
First, without a good photography there will be no good result. So prepare yourself and concentrate on the picture you will taken. Do I have the right light, the right location, the right model and what shell the picture look like.
On this example I did an swimwear editorial. The pictures needs a special look to be on a contrast to normal catalog look.
I found a special location and a great model (thank you Jhannet Correa). A Makeup Artist (Nina Schaub) prepare the model for the shooting.
My wife Biggi is supporting me as a digital assistant and helps me to set the light. Sometimes I use a moving light, so Biggi holds the flash and can go with the model
In this example I used 2 fix flashes.. 1 Beauty dish (my favorite Frontlight) and a second light behind the model. To lighten up the background.
The big glass front is my special effect, not easy to find a perspective. A perspective that not will show the lights and focus on the model.
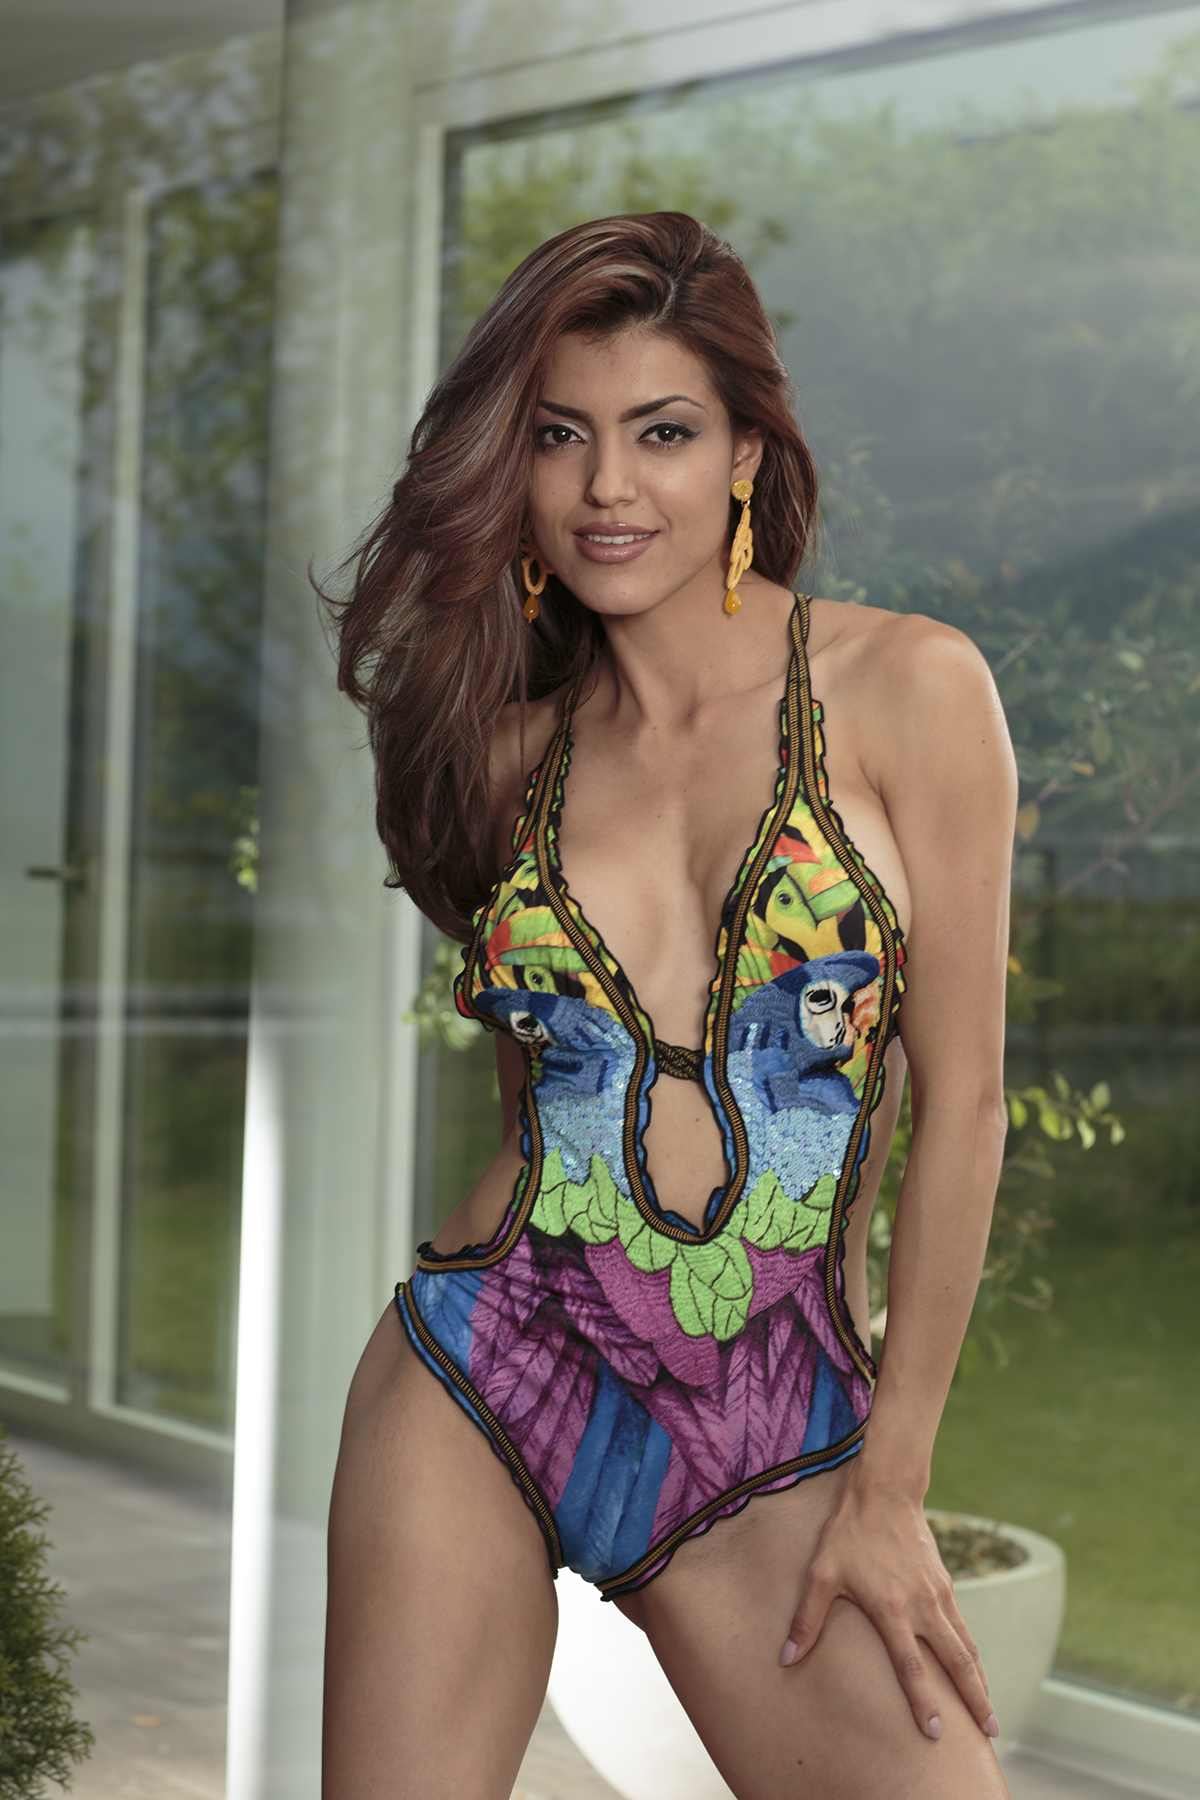
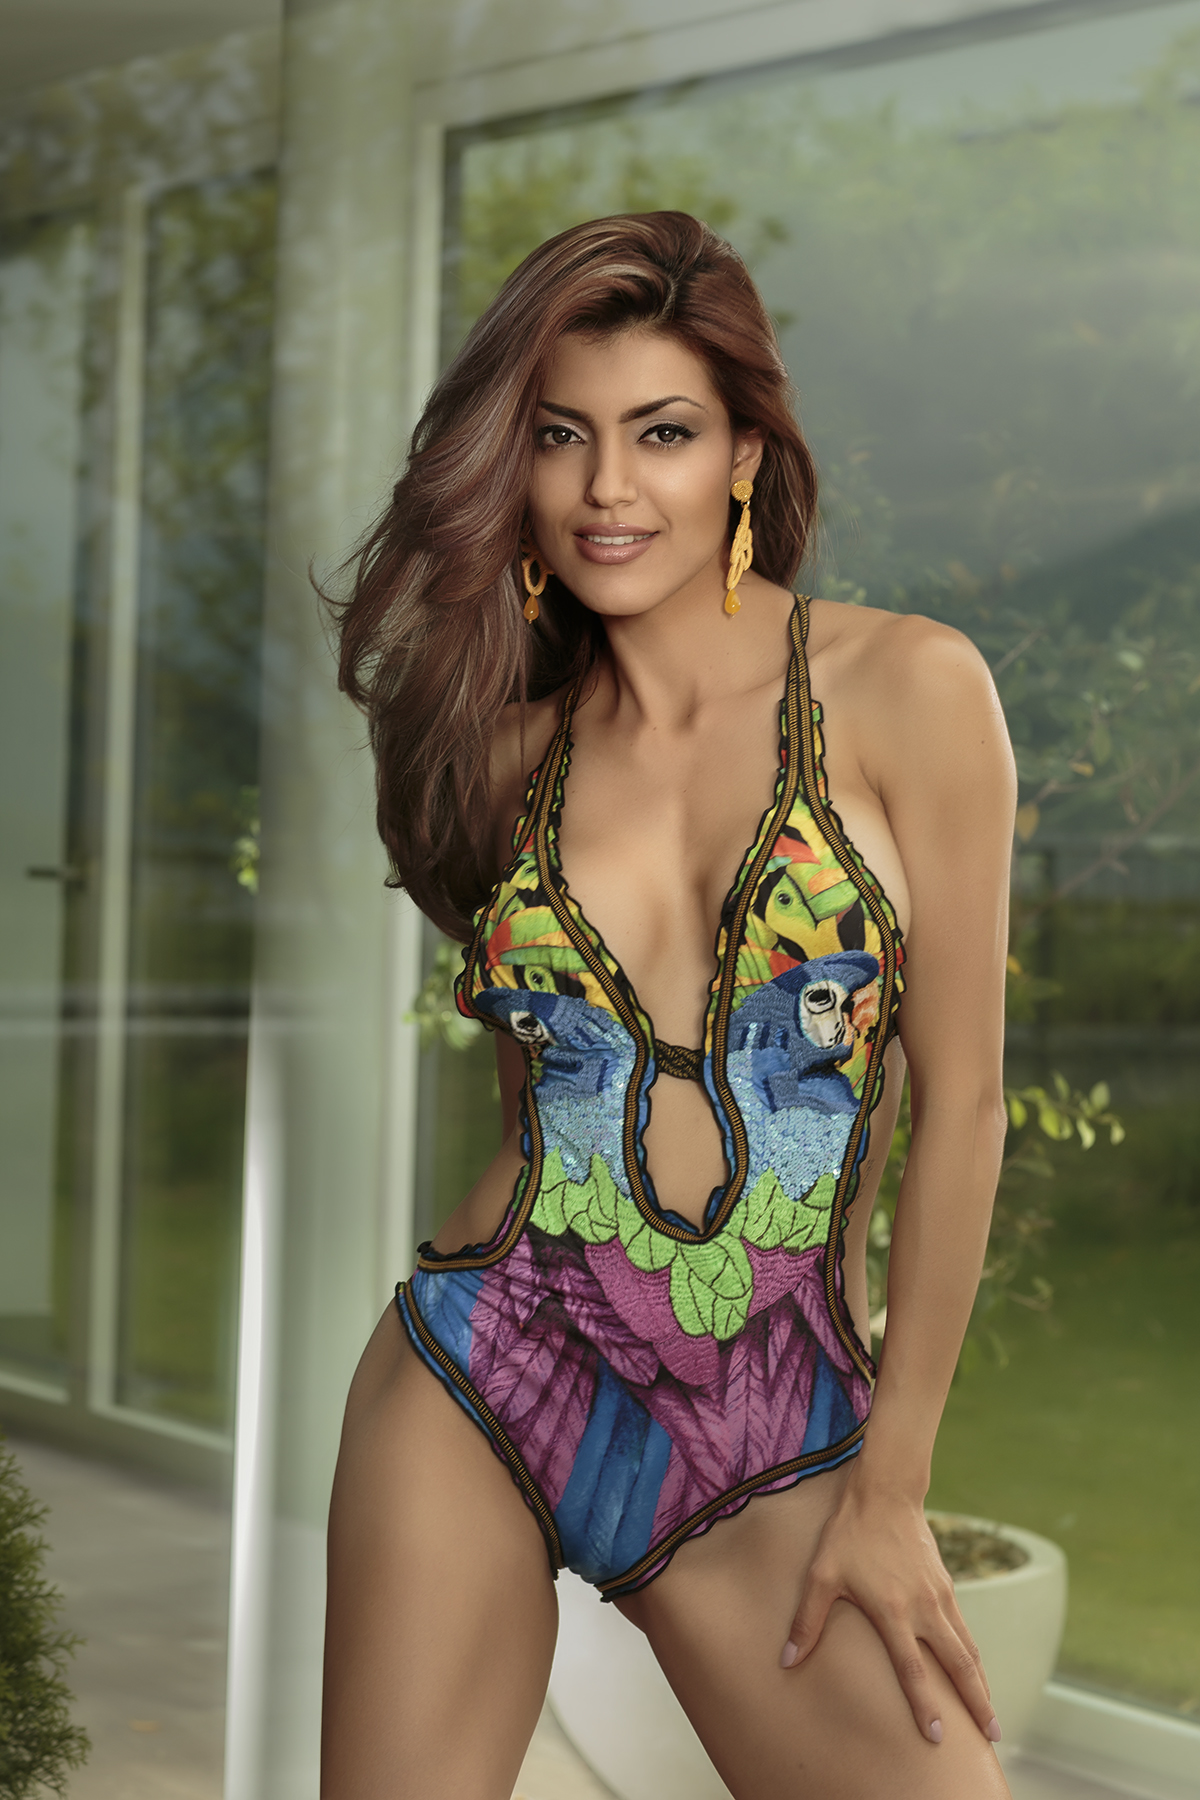
Here is the result coming out of the cam
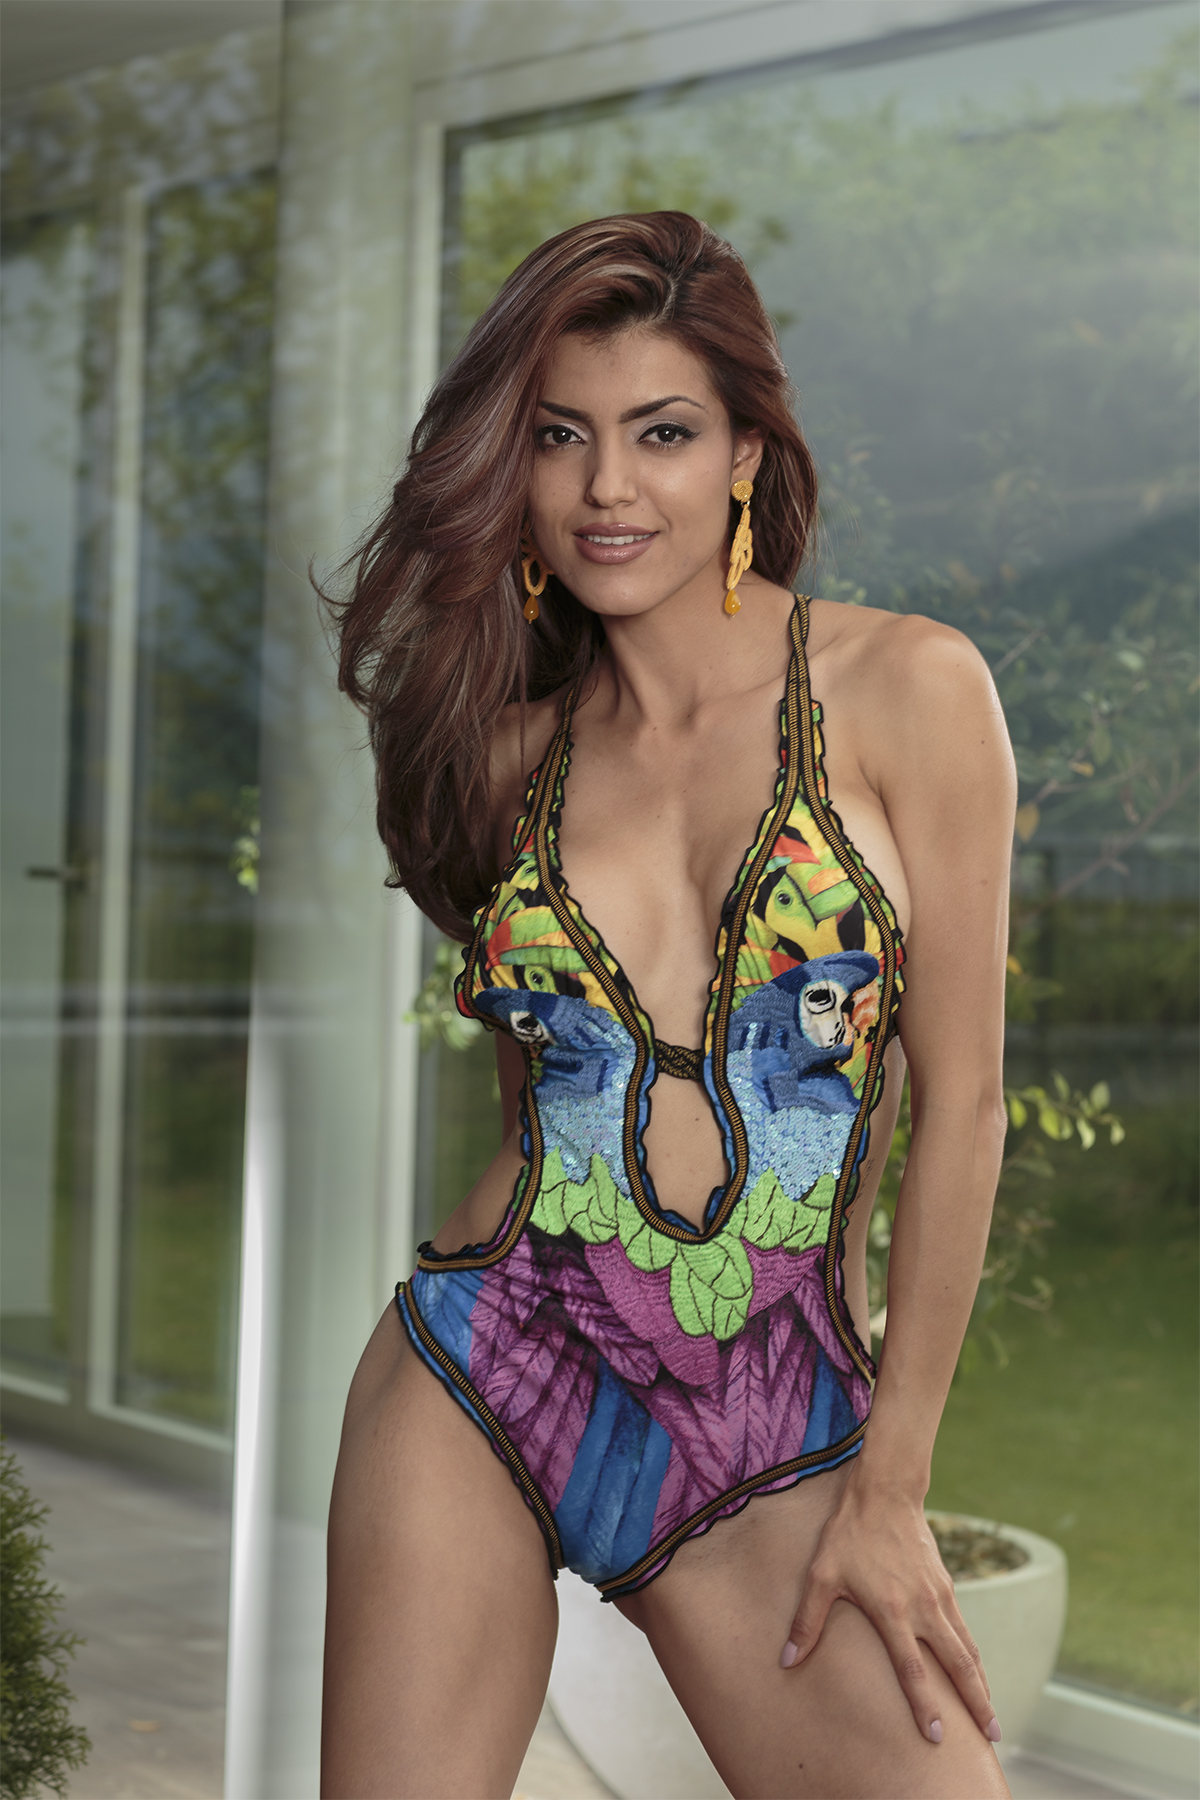
After the shooting I load up all images into my Adobe Bridge and start the RAW processing
This ist after RAW processing and open up in Adobe Photoshop (I use the CC)
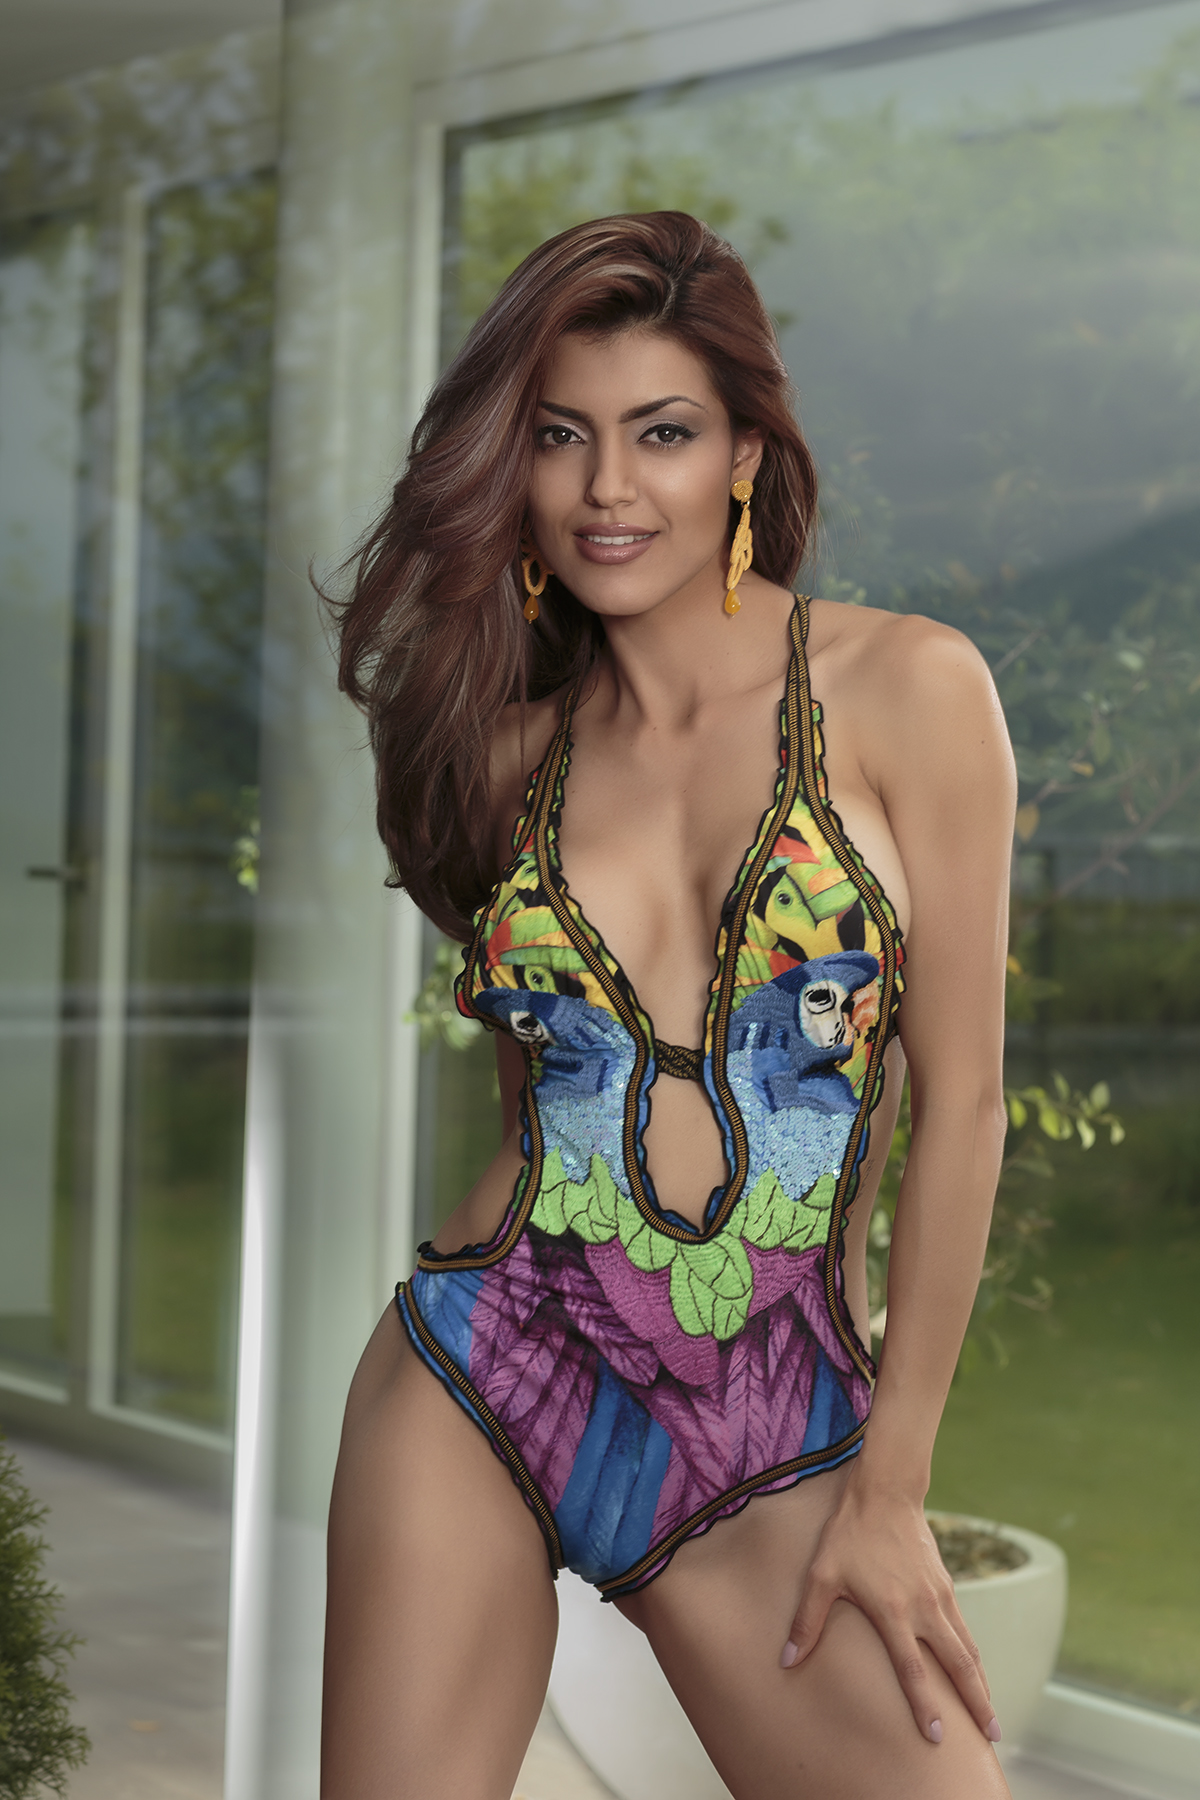
First I start with the skin retouching. This is the important phase on every photo in the fashion and beauty work
Step 1 I use the frequency separation to separate colors and contrasts. Now working on the contrast to eliminate things. The frequency separation is the only way to do that without destroying the skin. See the result

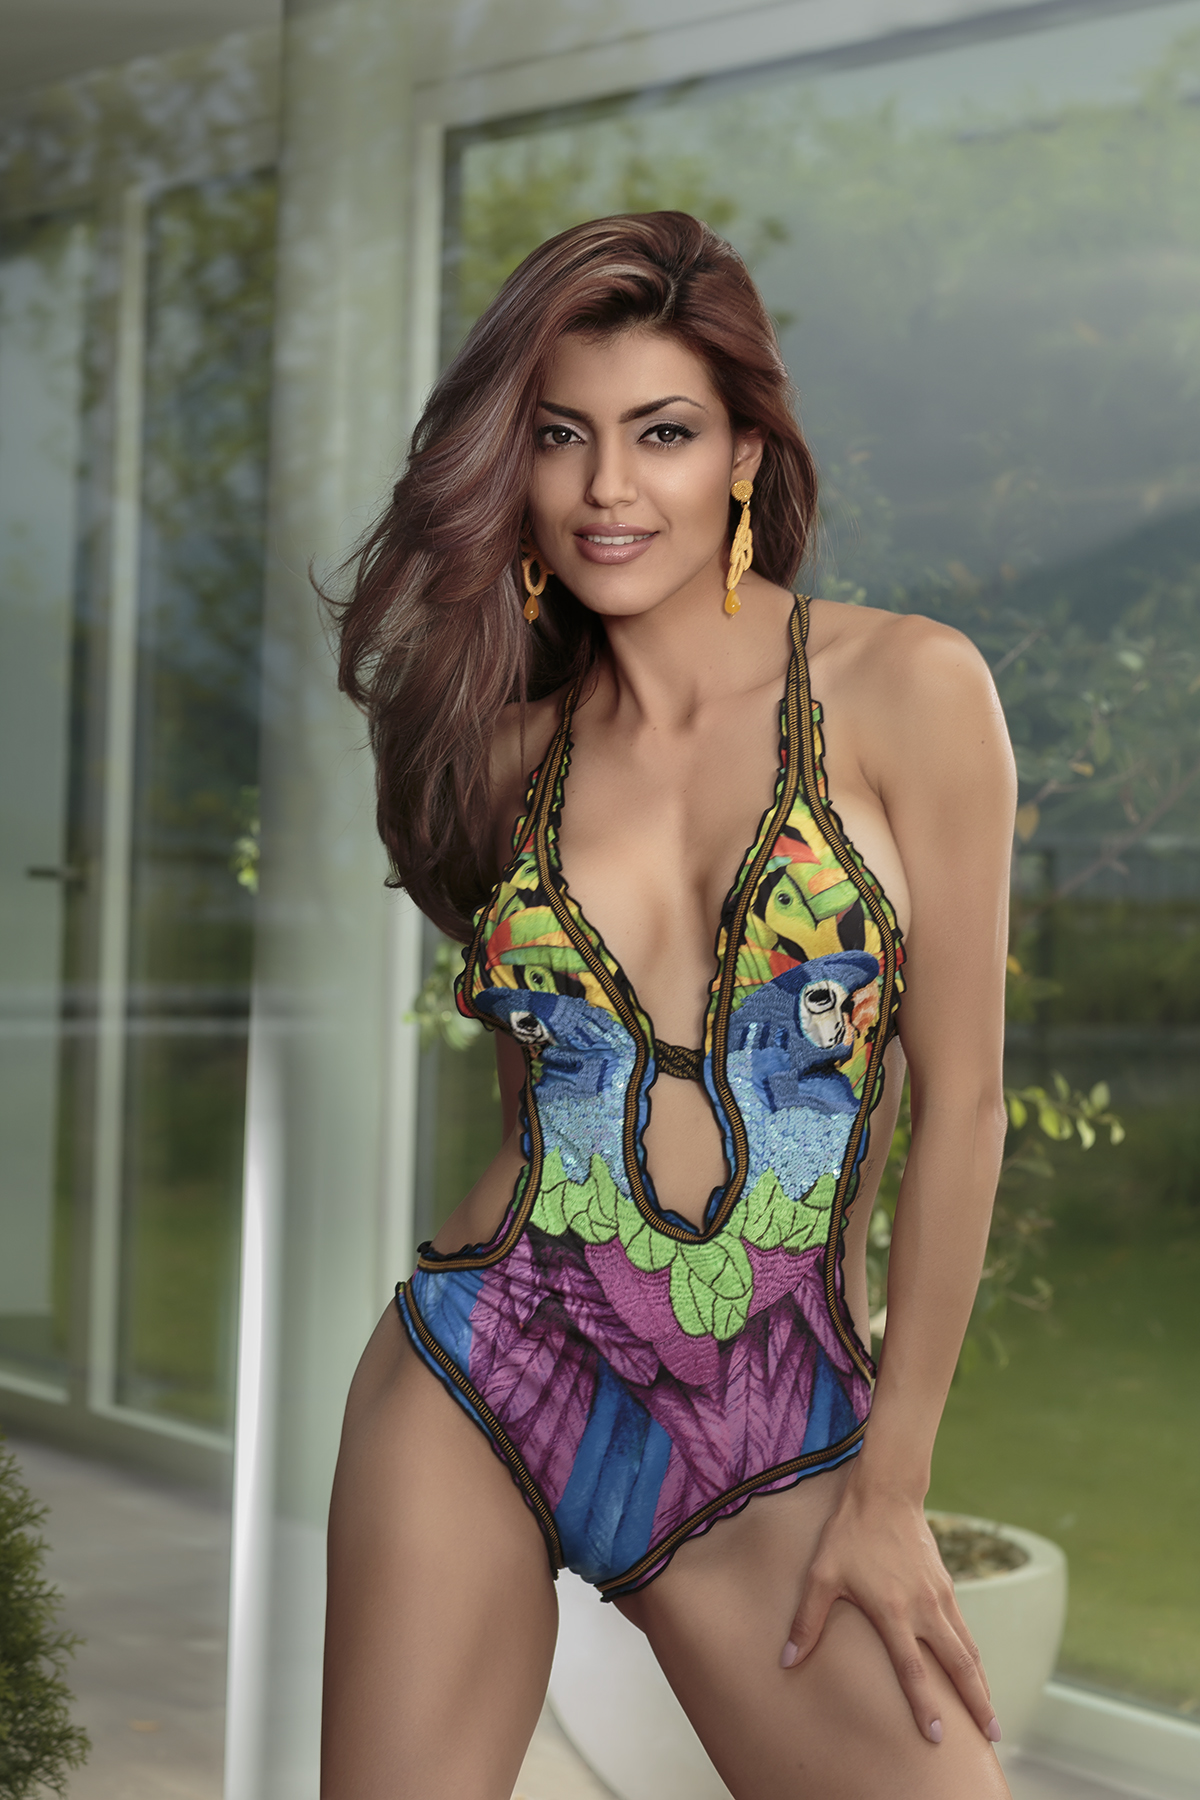
Step 2 of my retouching work is the dodge and burn. That means highlight the highlights and darken the darken. This is a very fine an detailed work, takes a lot of time and experience, because you need to know what Makup Artist know, how to do a great Makeup. Your dodge and burn will bring their work pop out.
This is the result
Step 3 is to extract details. I use a special filter to do that, The Color Efex Pro 4 is my main filter tool
You can see the work on the eyes and hair

Step 4 one of my final steps is to bring a highlight to the models face. I use again the color efex pro 4 tool and choose the color contrast range tool
see the highlight in her face
Step 5 the last step is the skin toning.. Skin toning isn’t an easy work, because you have to find a color the brings the existing skin color in front.. I used an olive toning

This is the result
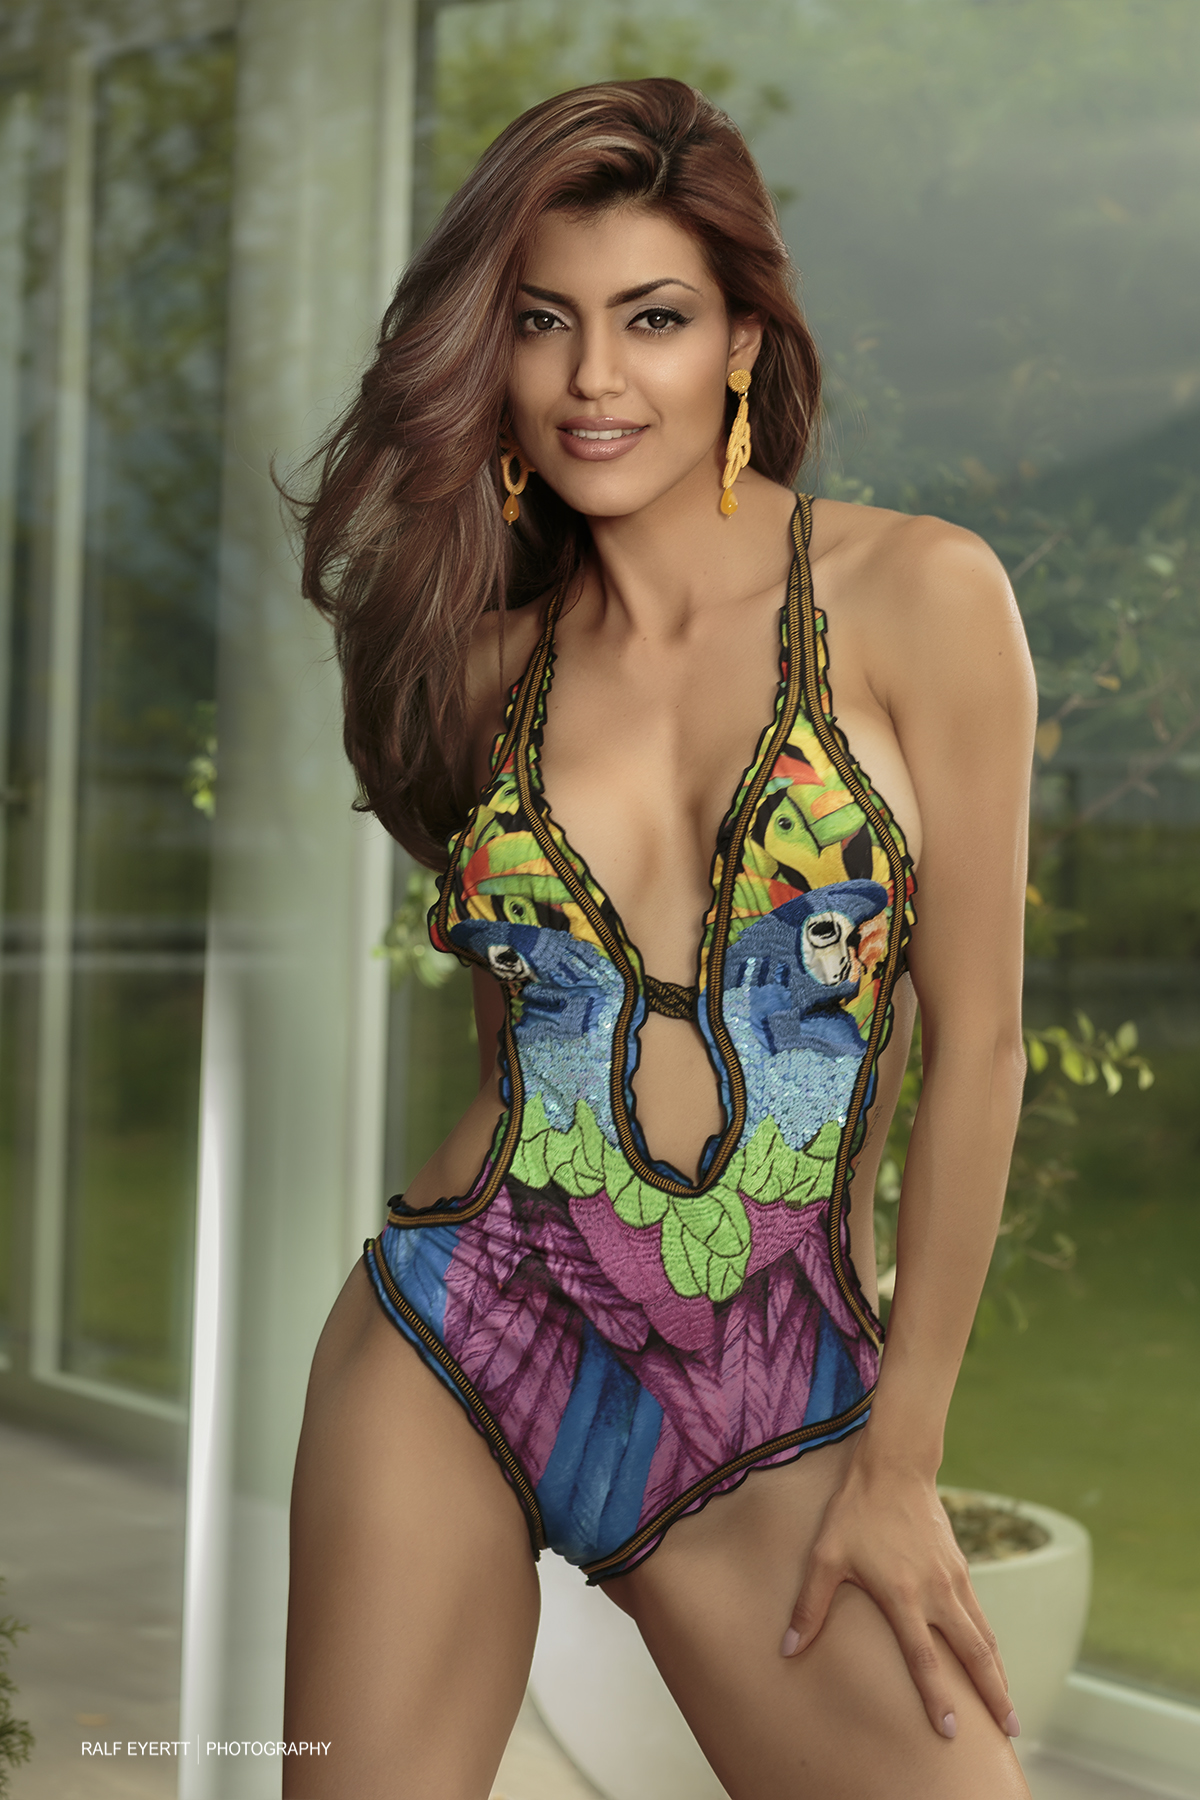
Step6 The last and final step is to crop the photo to the final size
So this was the result of my edited photo with Jhannet Correa and the swimwear label Agua Bendita
Hope you enjoy the tutorial
About the used retouching Technics.
You will find a lot of tutorials around the web on Youtube
Frequency Separation https://www.youtube.com/watch?v=Qo6iBmYnqh8
Dodge and Burn https://www.youtube.com/watch?v=7CsyS2Gd9lY
Color Efex Pro 4 by Google https://www.google.com/nikcollection/products/color-efex-pro/